Last updated: August 2016

Overview
At no cost to you or your organization, you can build dCloud content yourself by customizing existing content offerings.
Create and share Cisco solutions that focus on your specific customers and vertical markets. For the best results, use this approach to create your own dCloud content:
Plan
- Define the use cases and scenarios that you want your custom content to support, and list all software and servers (including version numbers) that you want in your content.
A thorough written definition of use cases and scenarios helps you determine the best starting dCloud content and understand how you will have to customize the starting content to meet your needs. For examples of use cases and scenarios, see the guides available with published dCloud content under Resources.
- In dCloud, find the best published content to use as the starting point for your custom version:
- On the top menu, click Catalog.
- Search for published content that includes the software and features, overall topology, and types of servers and workstations (VMs) that you want in your custom version.
- Click the content title for more information about the solution components and features that the published content includes and supports.
- Select as your starting point the published content that includes all or most of the software, features, and other components that you want in your custom version.
Customize
- Schedule a session of the dCloud content that you want to use as the starting point for your custom version.
Set the session end date/time out far enough to give you time to make and test your customizations. Most users can schedule a session to run a maximum of 5 days. If you need more than 5 days to customize and test the content, submit an extension request after the session becomes active.
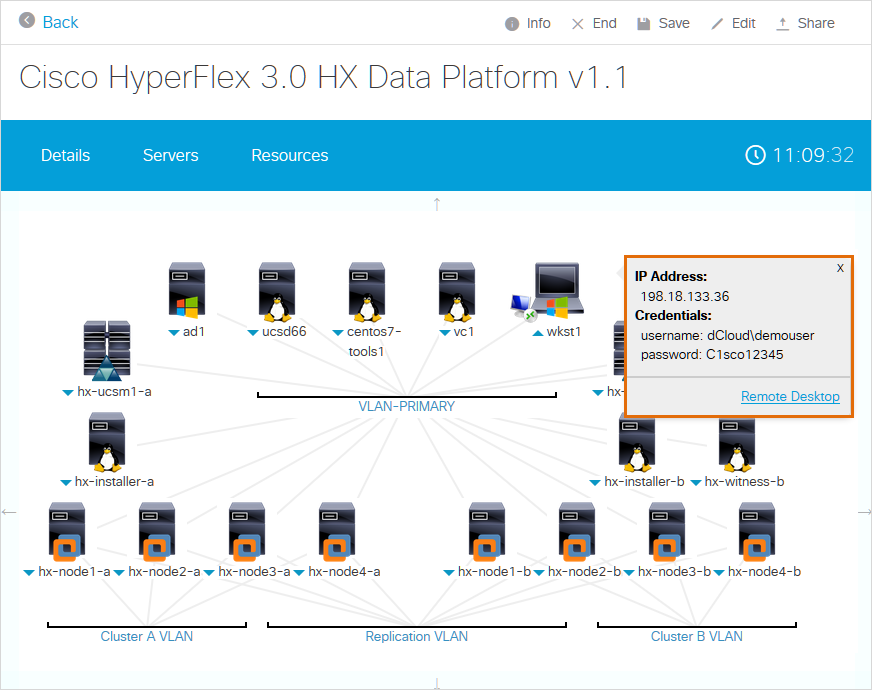
- Find your session in My Hub > Sessions. Once the session is active, click View to open the Topology. The session topology is the visual representation of the VMs and network connections configured and running in the session.

- Click icons to see the IP address and credentials defined on each VM that includes software and components that you want to customize.
Most VMs in a session can be customized, whether or not they are outlined in green in the Topology.
- On your laptop, connect to the active session environment using Cisco AnyConnect.
- While connected with AnyConnect, customize VMs in the session as needed to support your use cases and scenarios by logging in to each VM using the local RDP program on your laptop and the VM IP address and credentials in the Topology. You can change anything on a VM that you can access during the active session with the credentials, such as:
- Modify software branding and appearance
- Modify user information and credentials by changing the Active Directory structure
- Install software updates and patches or new solution software
- Modify software and system variables to create a different initial configuration
- Copy in and store new static data for access and processing by solution software
Test and Save
- Test your customization changes in the session by working through scenarios that you expect to demonstrate with the custom content.
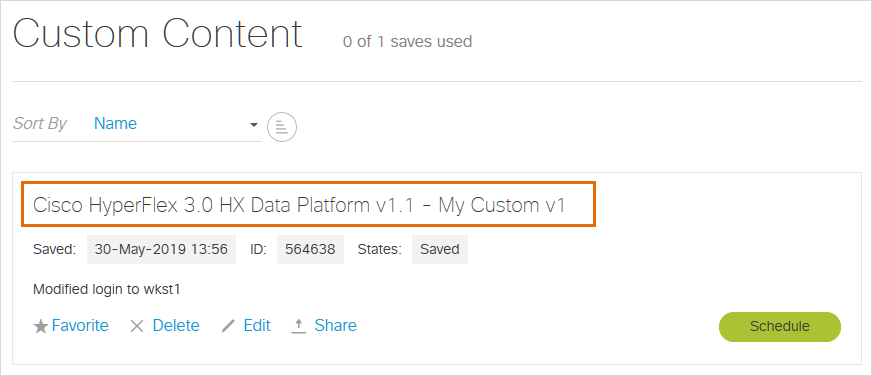
- Save the customized session as a new content version. The session ends, and the new content version appears in My Hub > Custom content.

You can save up to 5 custom content versions at any time. If you save 5 versions, you must delete 1 saved version before you can save another one.
- Schedule a session of your saved custom content, and work through some of your scenarios again to make sure that a new session appears and behaves as you expect.
It is critical that you retest your custom content in a new active session before declaring it finished and sharing it with others. The published content that you use as your starting point may reset the initial configuration at session startup in ways that overwrite some of the customizations you made.
- If you make additional changes to a session during testing, save the changed session as a new final content version. Also retest a new saved version if additional changes will affect the content appearance or behavior in major ways.
Use and Share
After you finalize your custom version of dCloud content, you can:
- Schedule a session of the custom version to show to customers and colleagues
- Share a session of the custom version with customers and colleagues to let them see and work with a session that you control
- Share your custom content version with customers and colleagues so that they can start and work with a session that they control and that includes all of the changes you made